
As the pandemic drags on into the new year, a lot of folks are looking for creative activities to pass the time at home. While card games and board games are great, sometimes you want something more mellow—that’s where jigsaw puzzles come in. Chances are, you’ve done a jigsaw puzzle of some kind at some point in your life. But if you haven’t put together a puzzle as an adult, you might not realize how well it pairs with cannabis! And as an added bonus, you can frame the finished puzzle and use it to decorate your home or gift it to someone else!
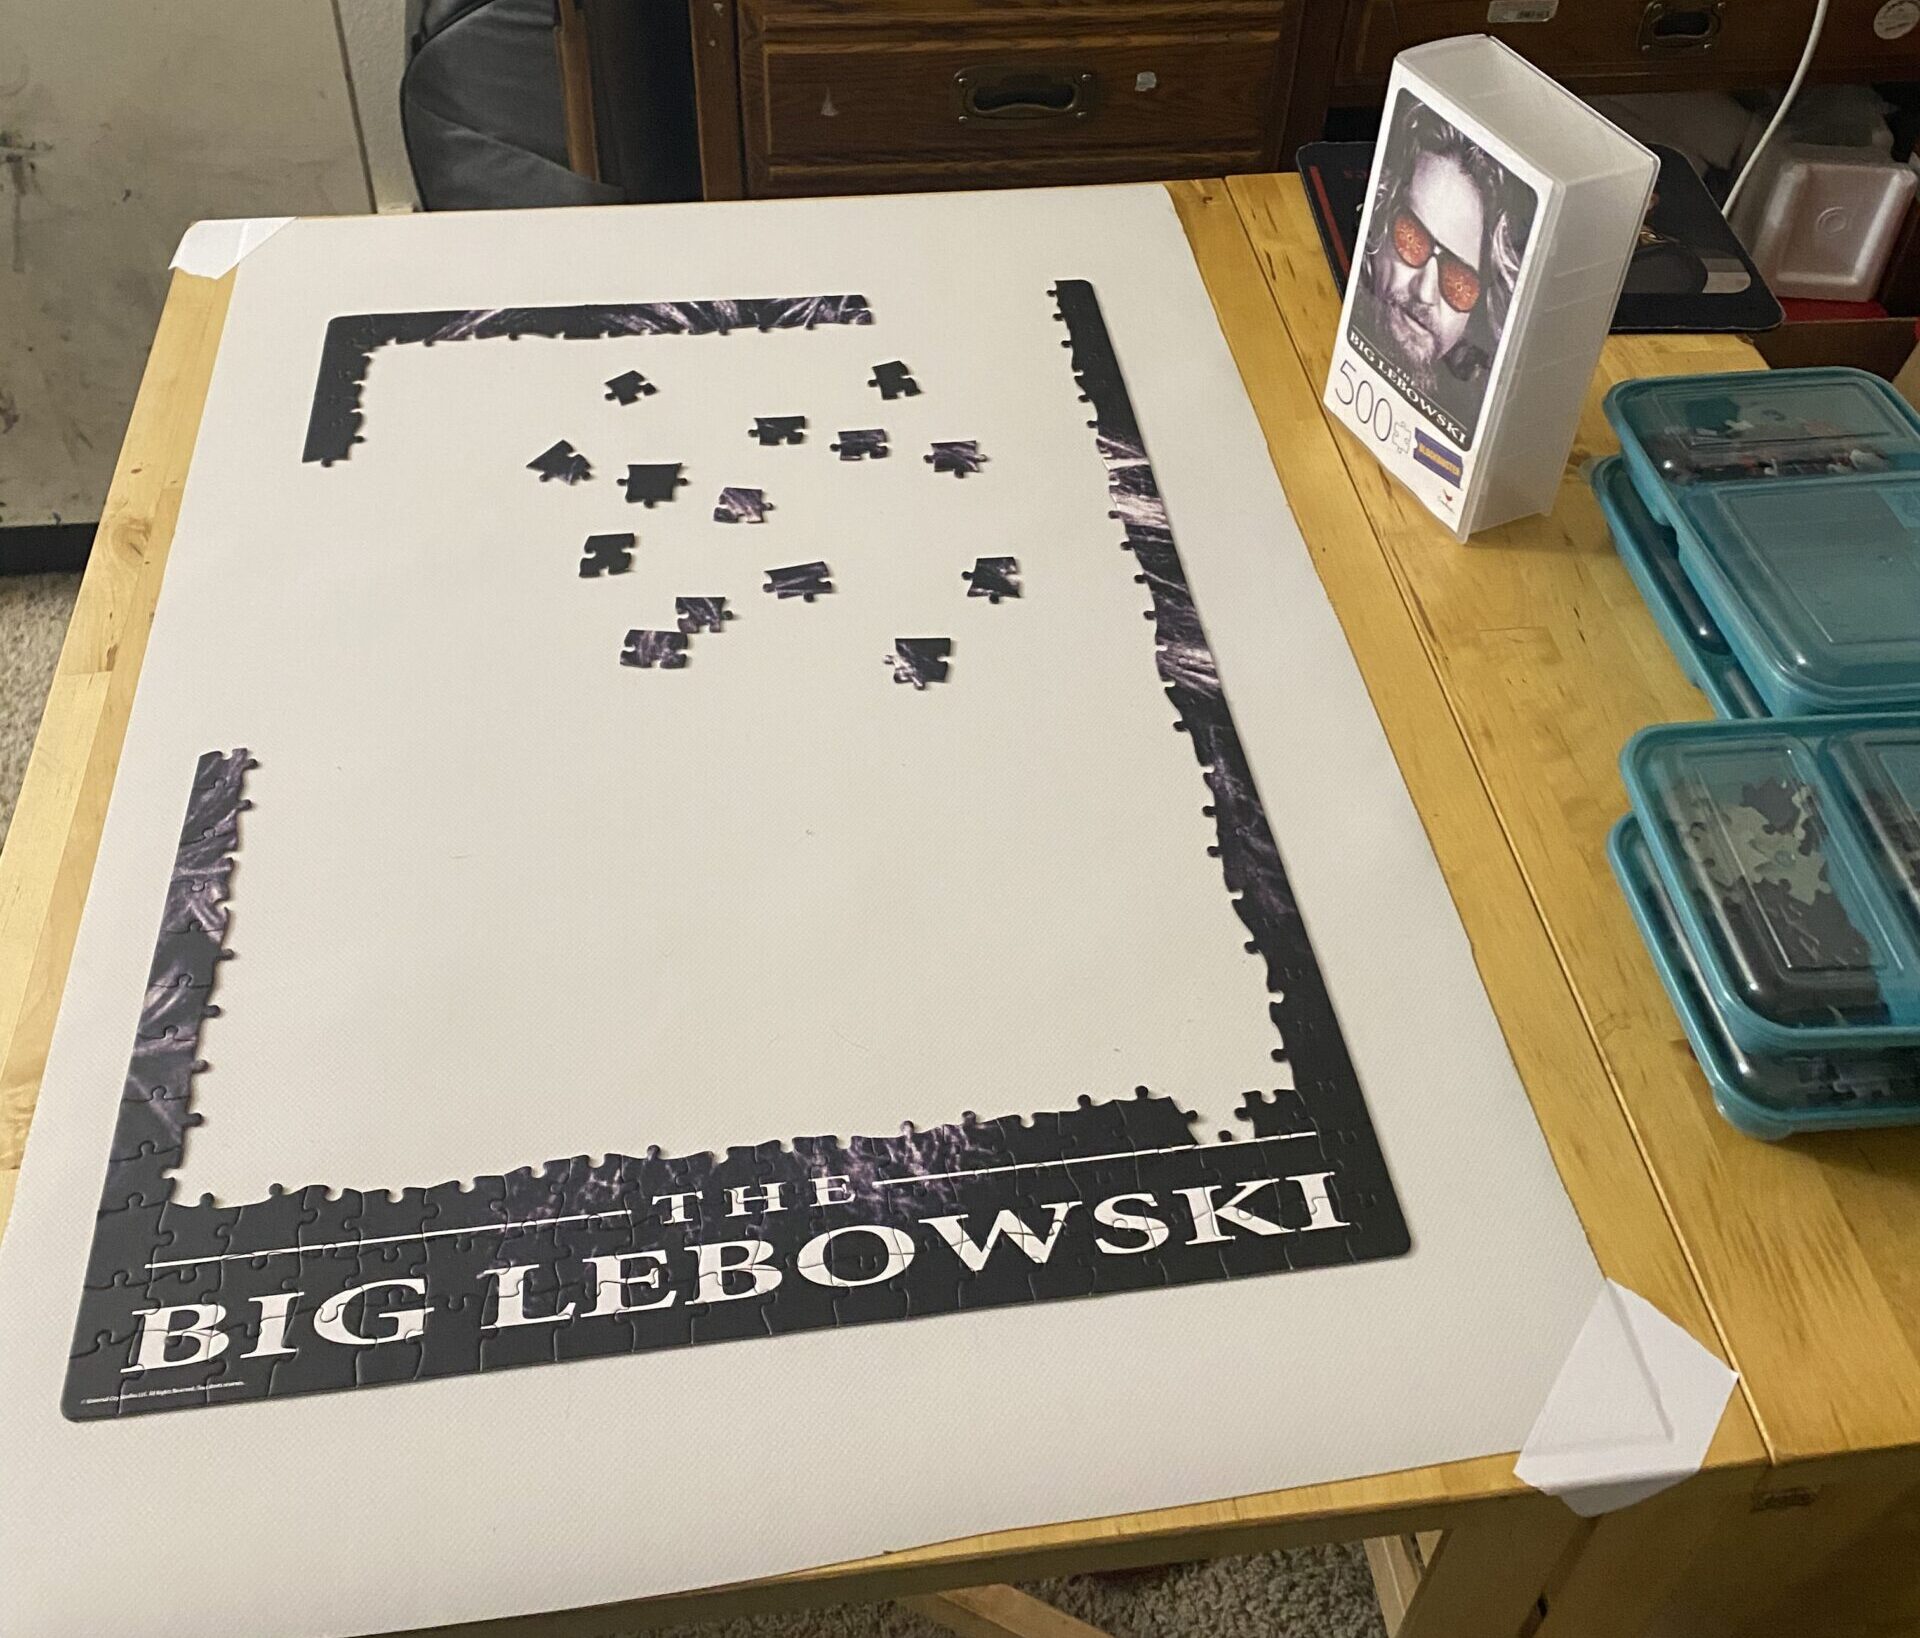
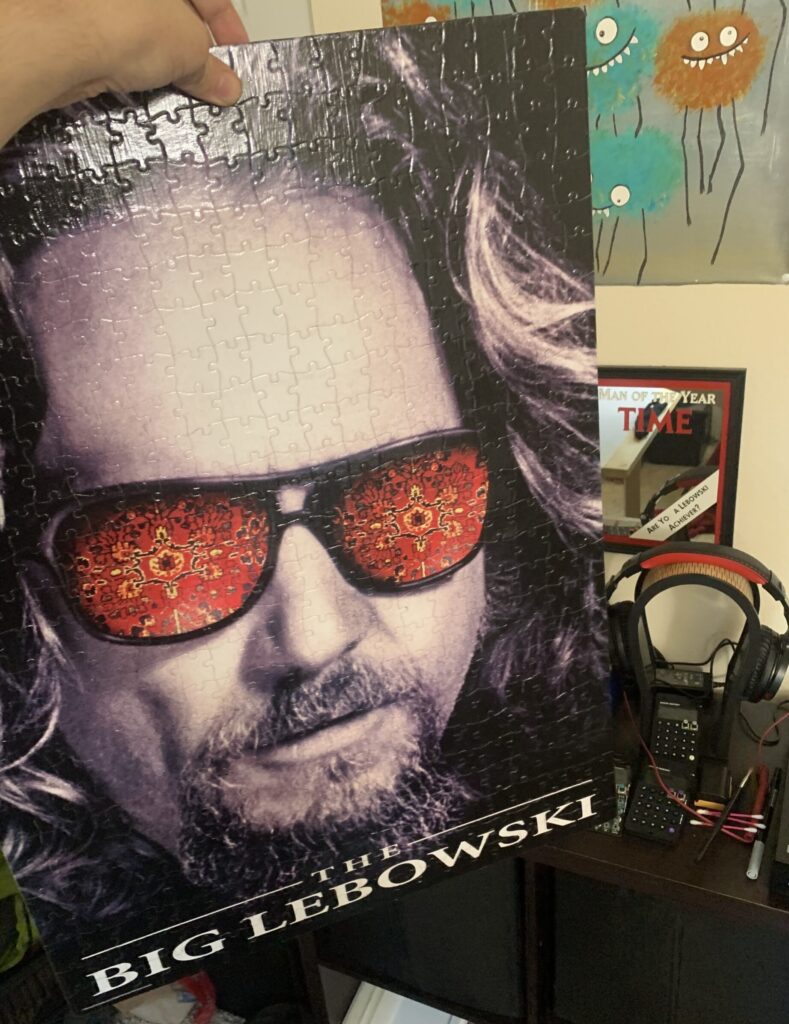
I recently made an impulse buy when I found a 500-piece puzzle of “The Big Lebowski” for just $10. It had been a decade or two since the last time I had put a puzzle together. My partner and I set up a small table in a spot safe from our cats, knowing this project might take several sessions to complete.

Step 1: Sorting the pieces.
The first task when starting a puzzle is sorting the pieces–the perfect task for while you’re stoned! We found it was easiest to pull all the edge pieces and start building the puzzle with those, and to sort the middle pieces by color and/or texture. We enjoyed Vortex by Bondi during the sorting process.
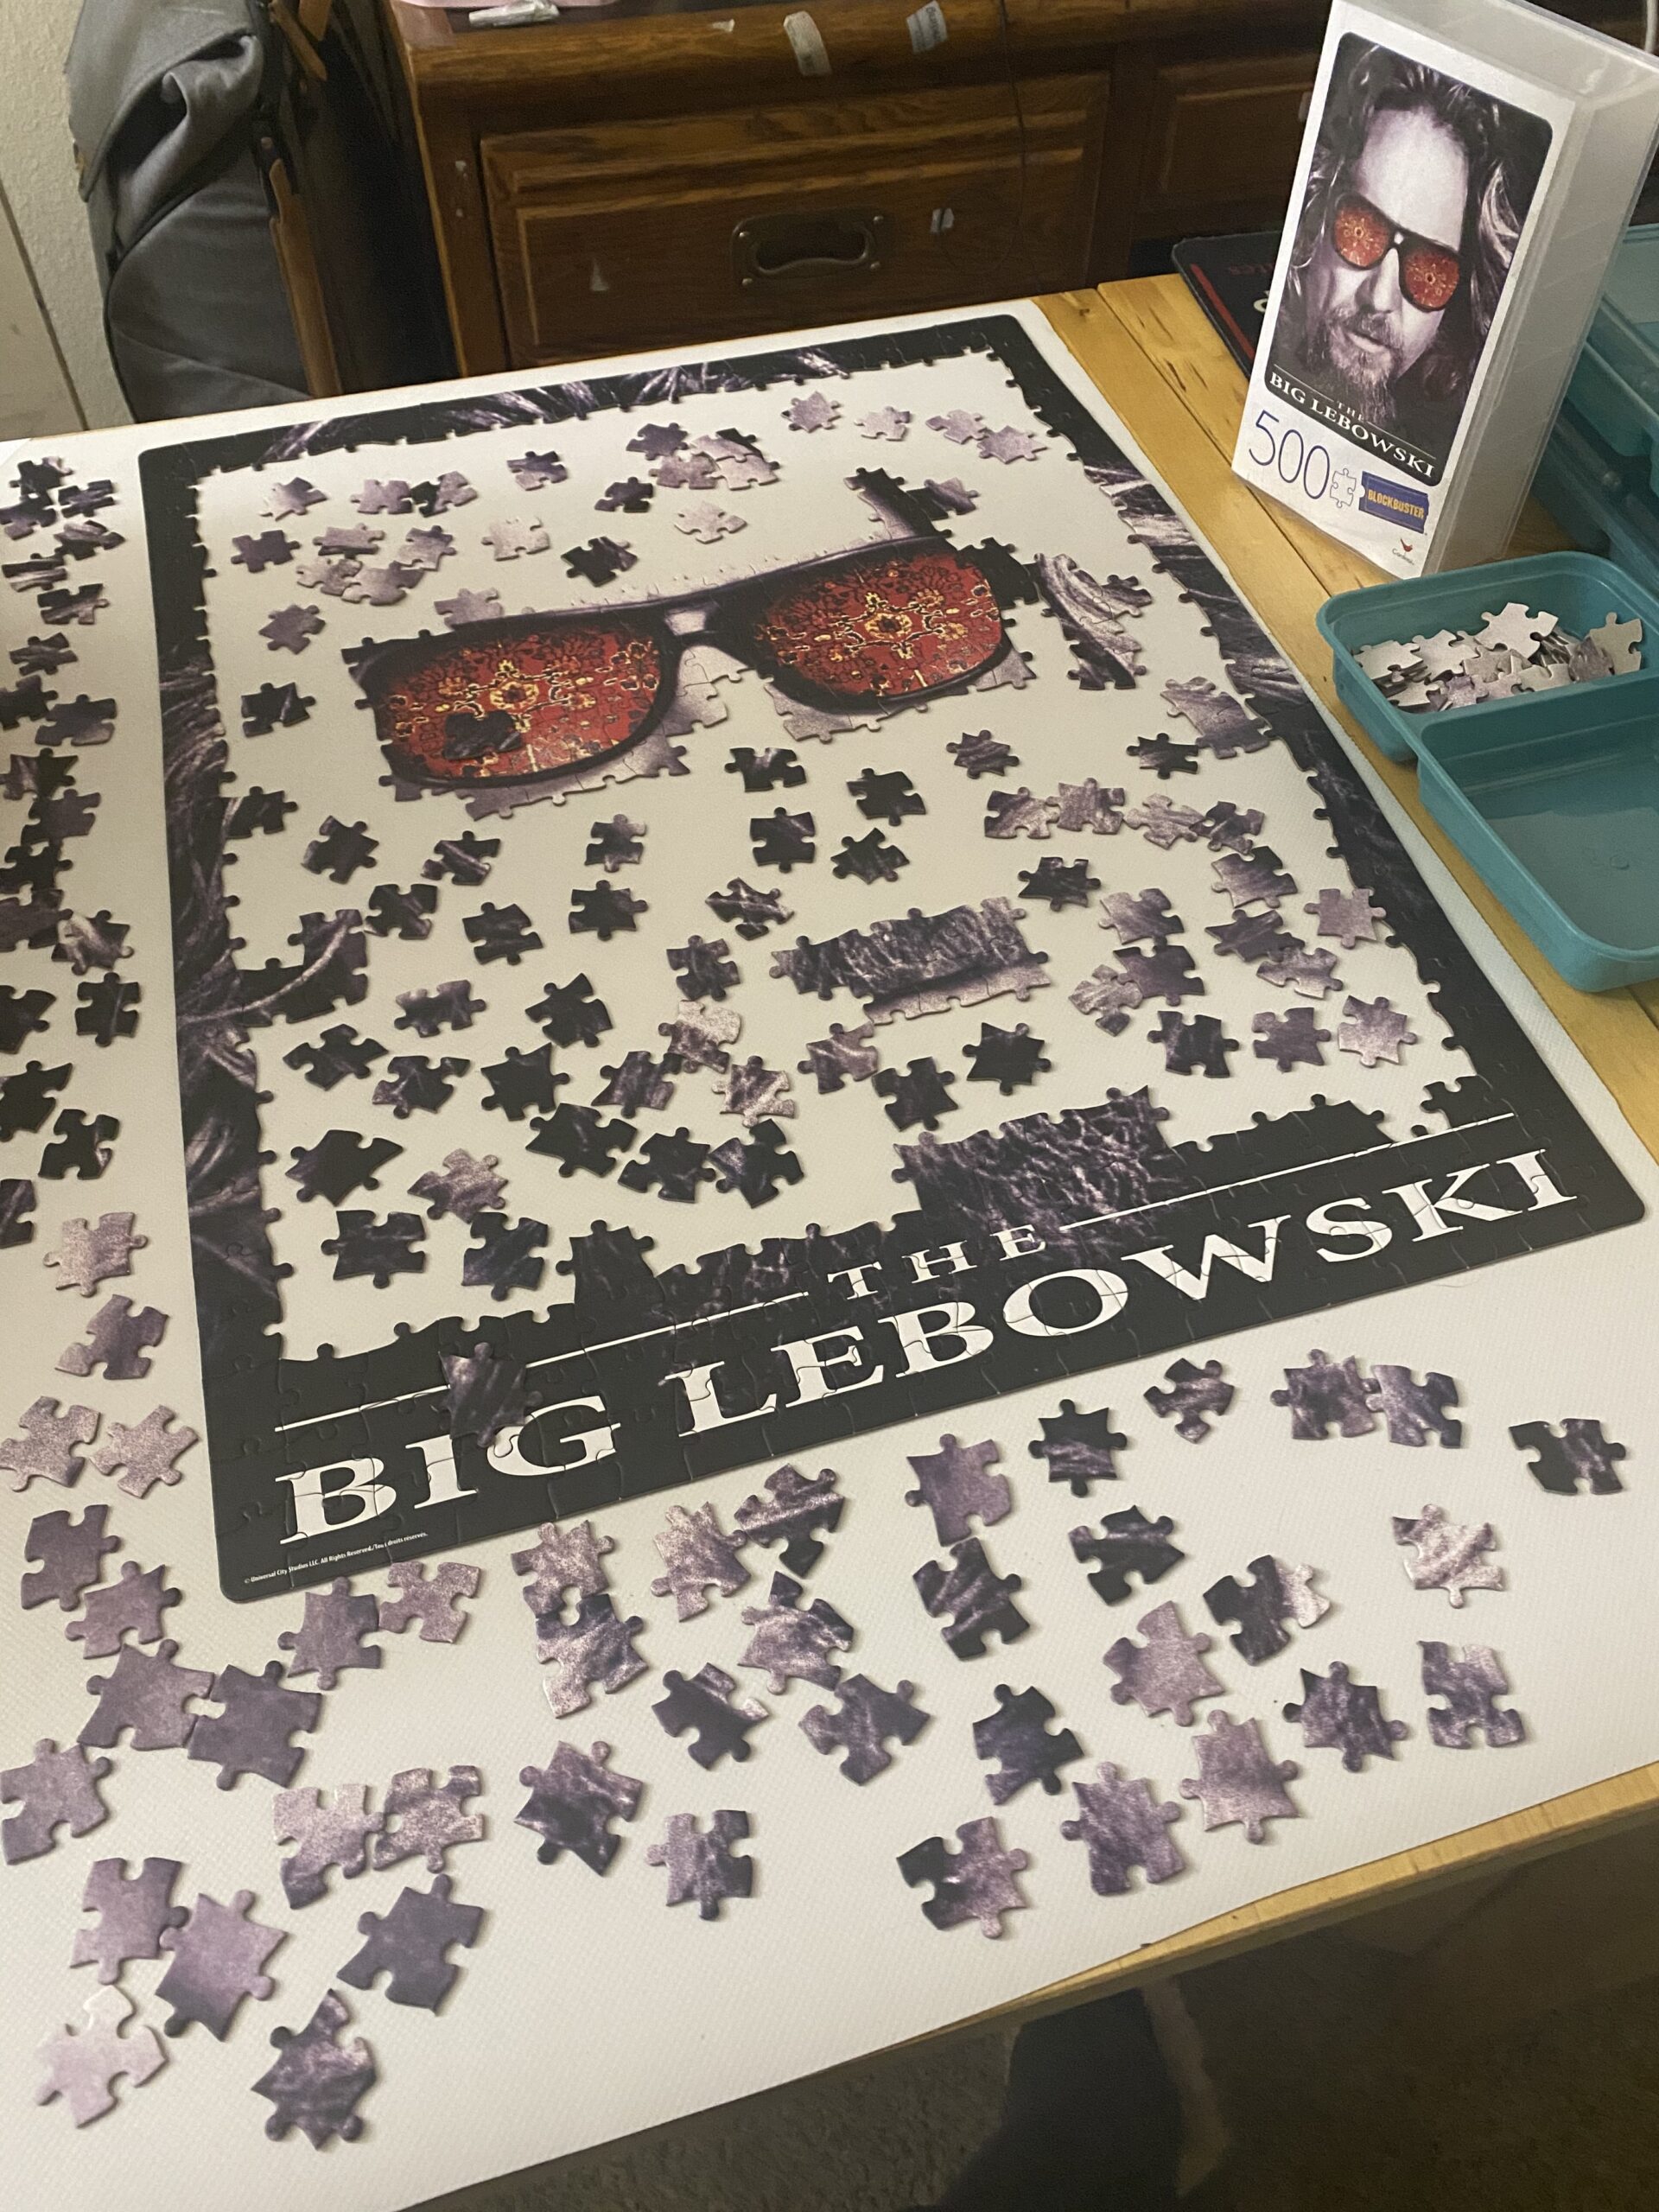
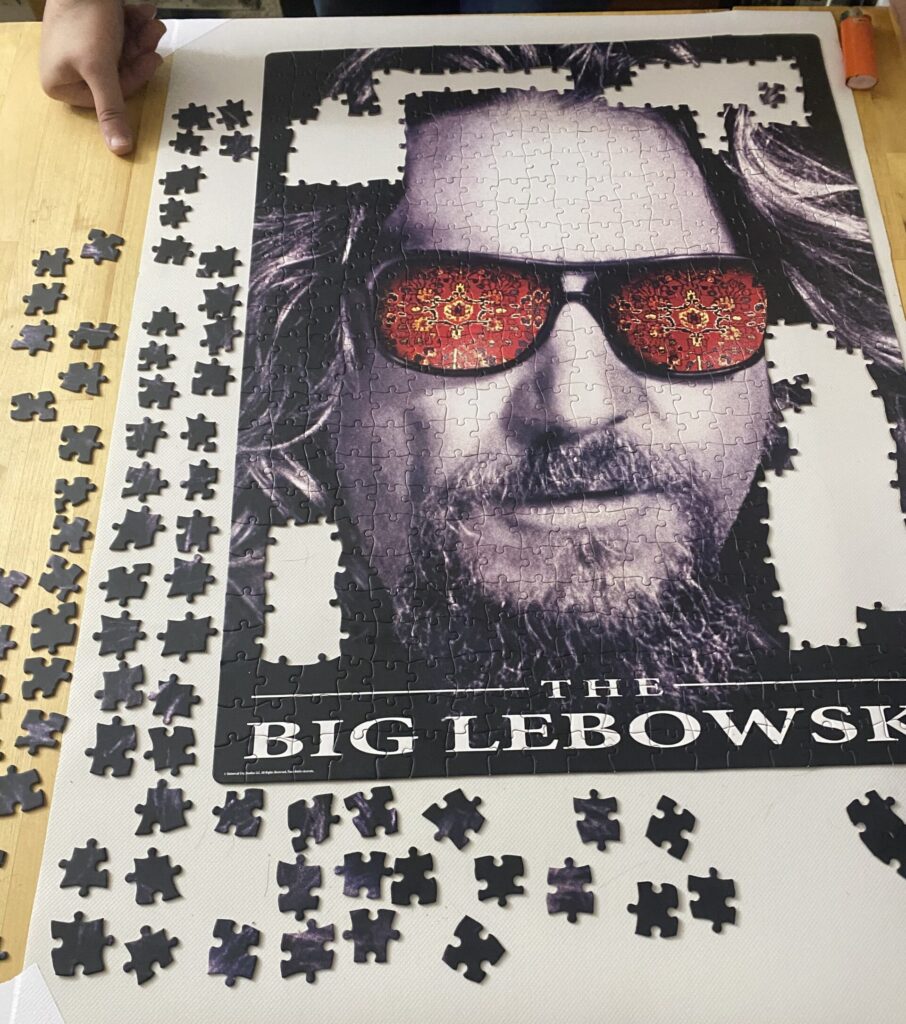
Step 2: Assembling the puzzle.
If you’re planning to frame the finished puzzle, make sure to assemble it on a smooth surface, like a piece of cardboard or poster board. It will be much easier to do the gluing and framing if the puzzle is on a separate surface, rather than directly on a tabletop! It took us 3 nights to finish the puzzle. Even when there was a long period of time without any puzzle pieces being placed, we didn’t mind–after all, we were spending time together, doing something new, and smoking lots of cannabis! Some of the strains we consumed during this process were: Peach Rings by Puget Power, Do-Si-Do by Bondi, and and Rose by Loud.
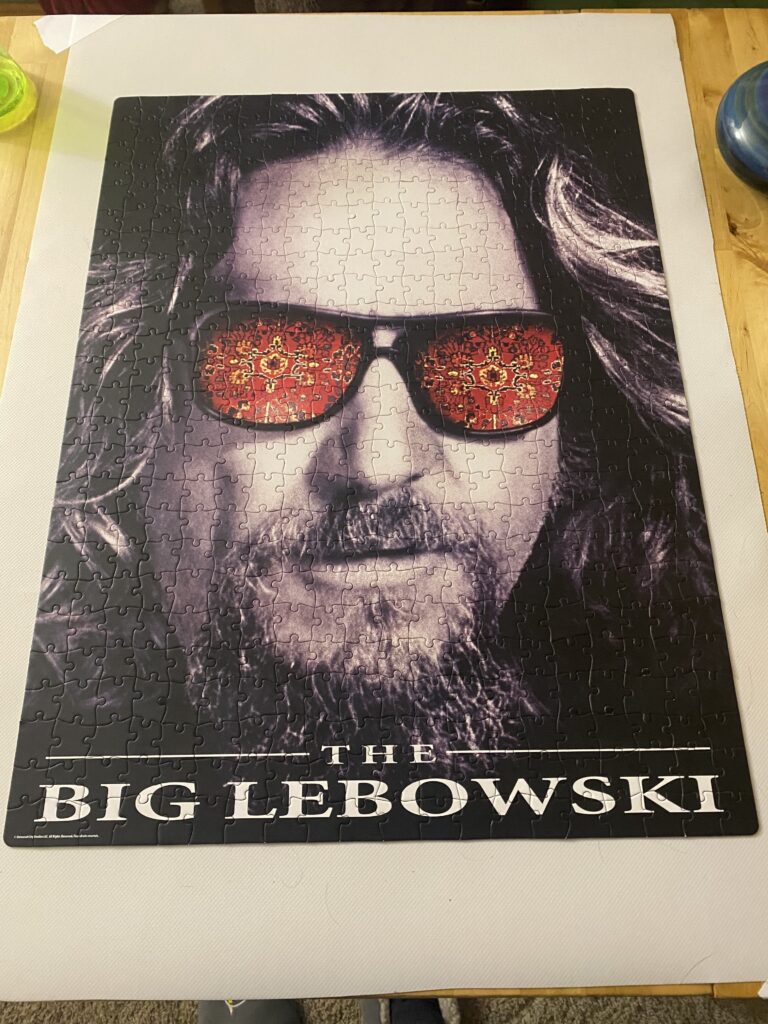
Step 3: Gluing.
After we finished the puzzle, we used a paintbrush to apply a thin coat of adhesive. There’s a few different options that you can use–we just happened to have some Mod Podge around the house, so we used that. Depending on what kind of adhesive you use, you may want to do two or more coats, letting each coat dry completely before applying the next.
Step 4: Framing.
From here, you just need to transfer the (completely dried) puzzle onto whatever matting you’re going to use for framing. If you’re skipping the frame, you can just glue the puzzle to a piece of thick cardboard or something similar.
