For many smokers, its the last resort. For many more stoners its a skill that they never picked up. But knowing how to roll a good joint is the key to stoner heaven. Whether you are hiking through the mountains or chiefing on a walk, a joint is the perfect companion, and great for sharing (not right now though.). While there are going to be a few ‘doobies’ rolled on the road to a perfection, a little practice and a little patience will get you a home-rolled joint burning between your fingertips in a second. So we put together a simple 12 step guide to help you perfect your joint rolling skills.

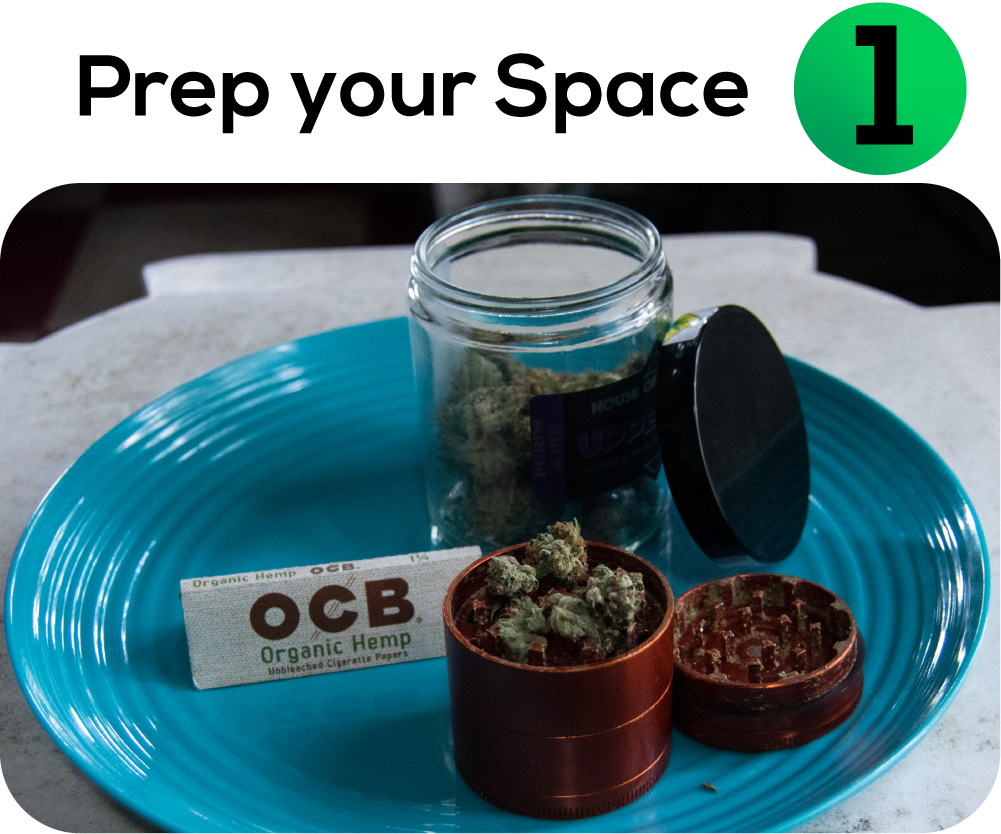
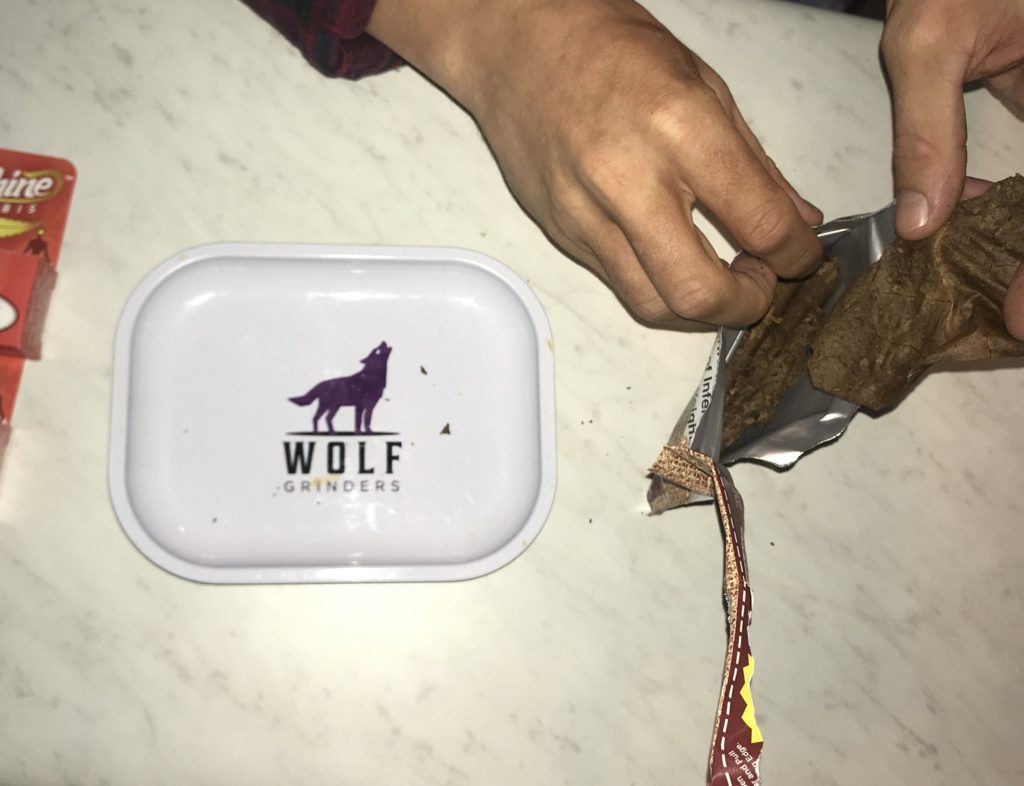
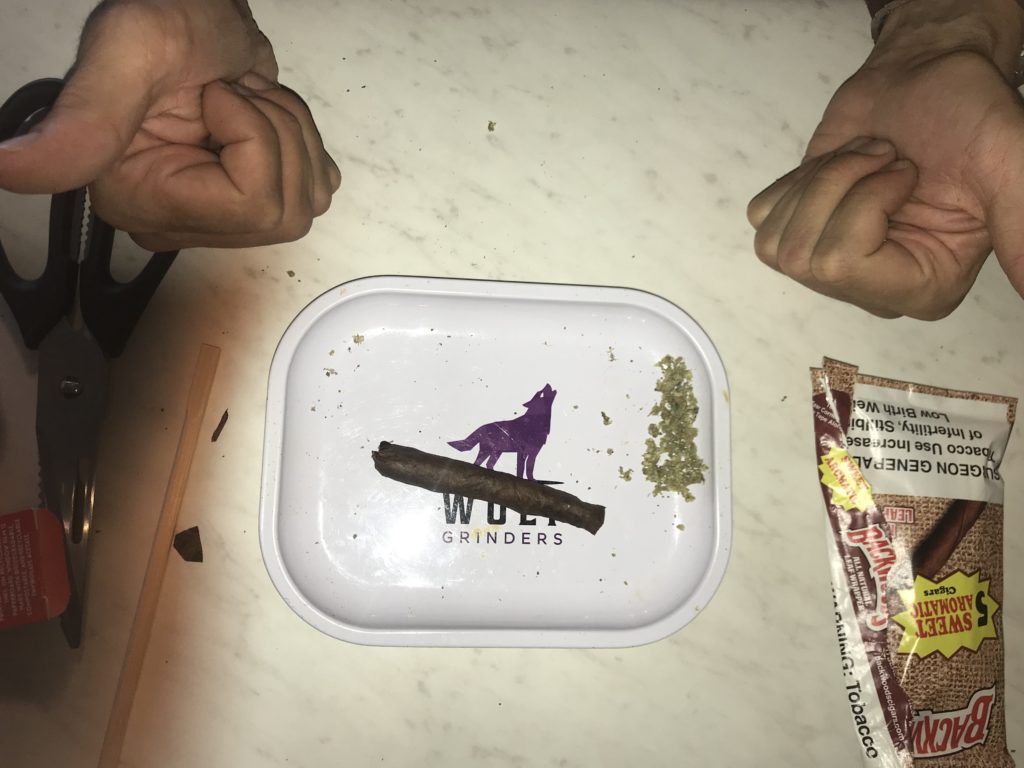
Whether you’re rolling your joint on your dinner table or on a book while you’re at the beach, its always helpful to have a wide, clean, smooth surface to roll on. If you plan on making joints a habit you might invest in a weed tray with tilted edges, but you can make do with a book or a bowl just as well.
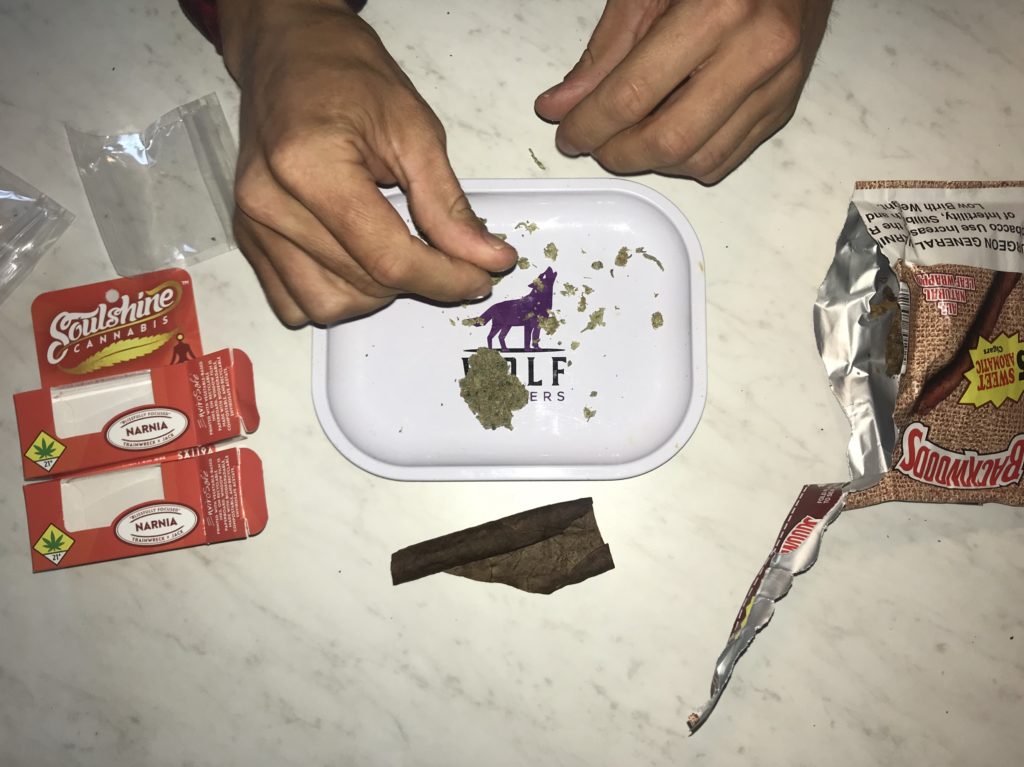
Grab a few nugs, try to aim for about 3/4 of a gram. Don’t grind it too fine or it will be harder to roll with. You’ll start to get the amount you need down, but even if you over shoot by a little, you would be surprised by how much weed you can pack into a well rolled joint.

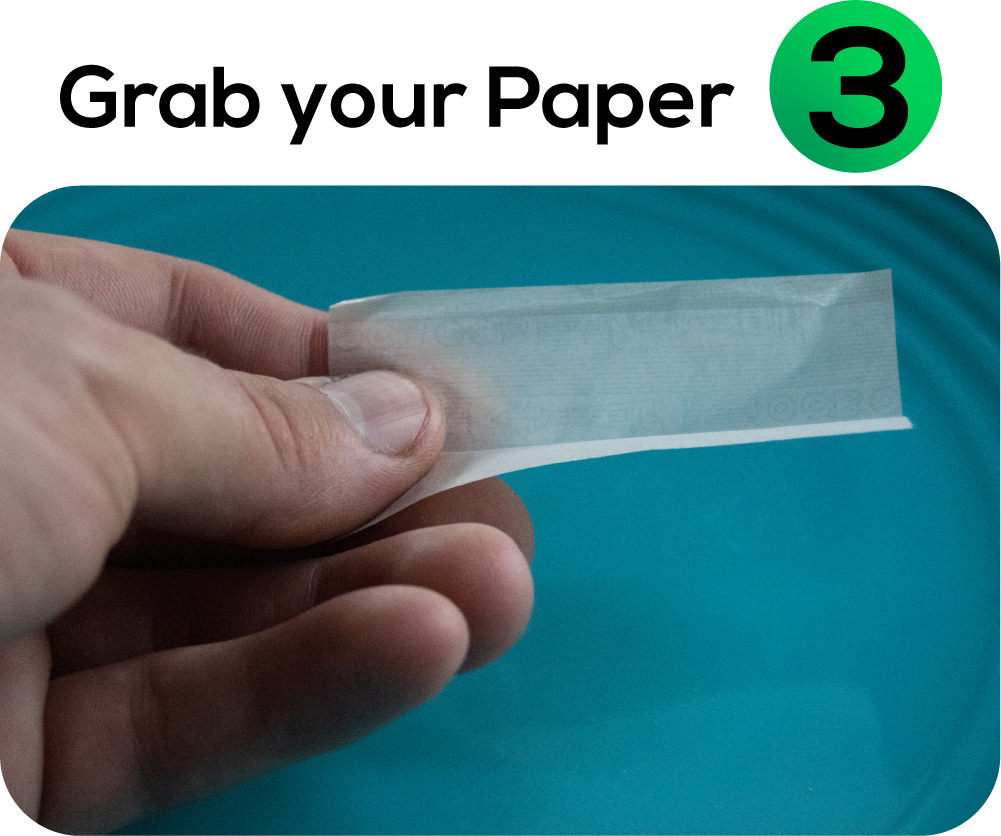
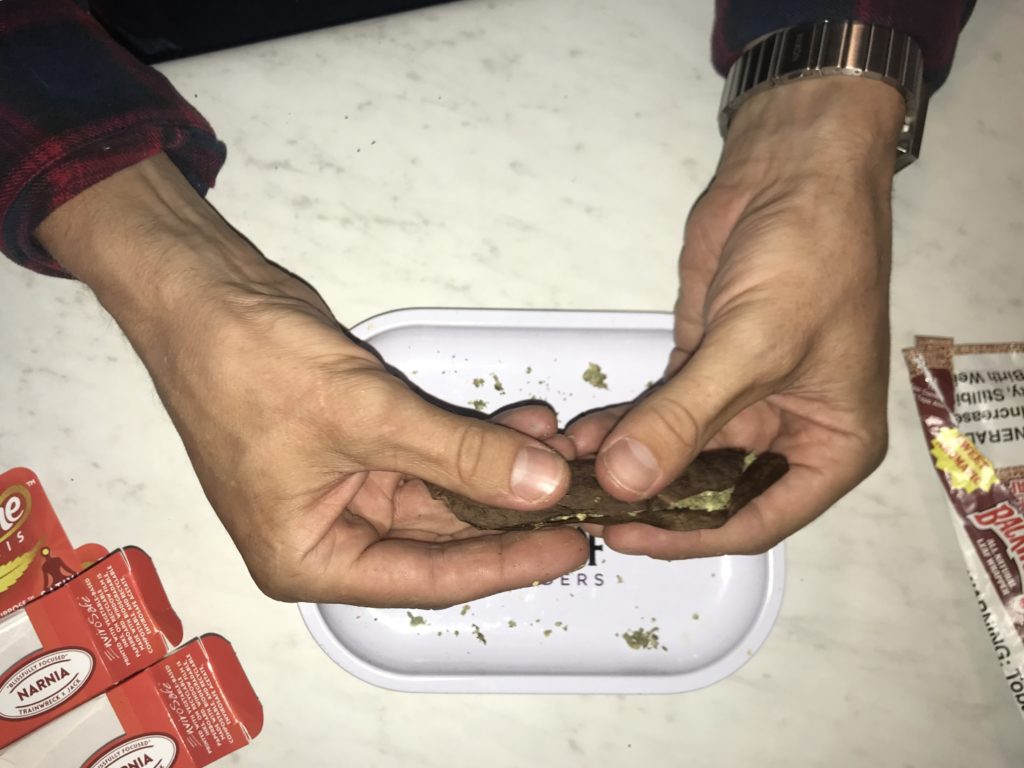
Bend one end of the papers between your pointer finger and thumb of your non-dominant hand. The paper has a glue edge, make sure it is putting up, and towards you.. At this point you can place a crutch on the paper under your pointer finger, but they aren’t necessary.

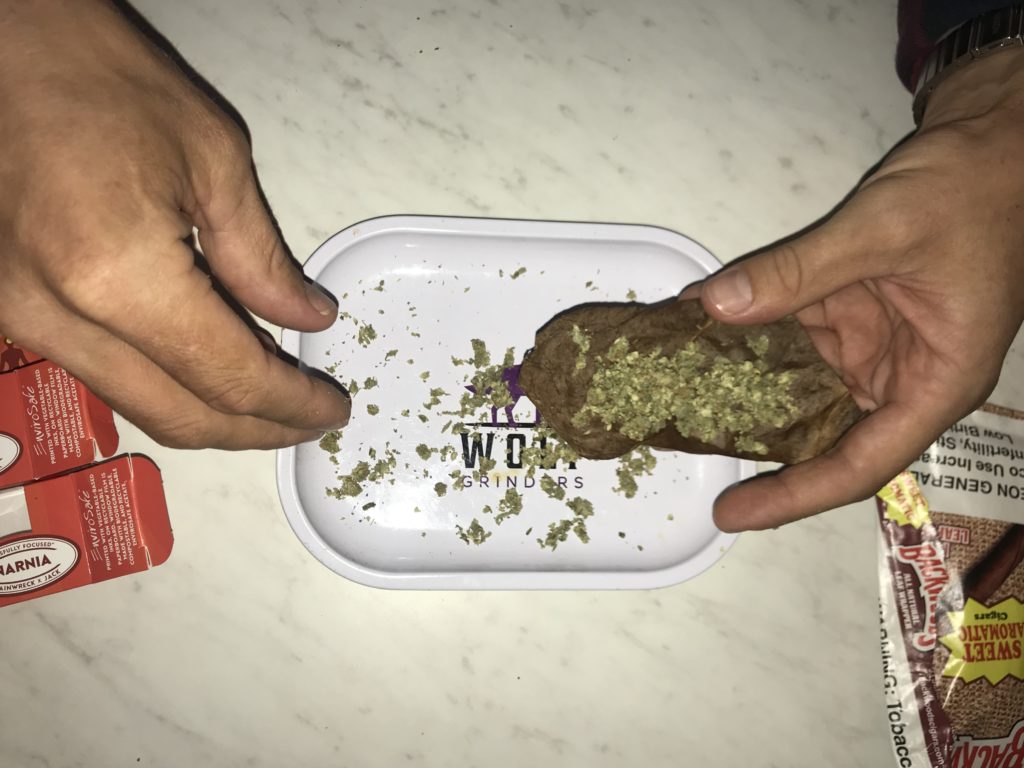
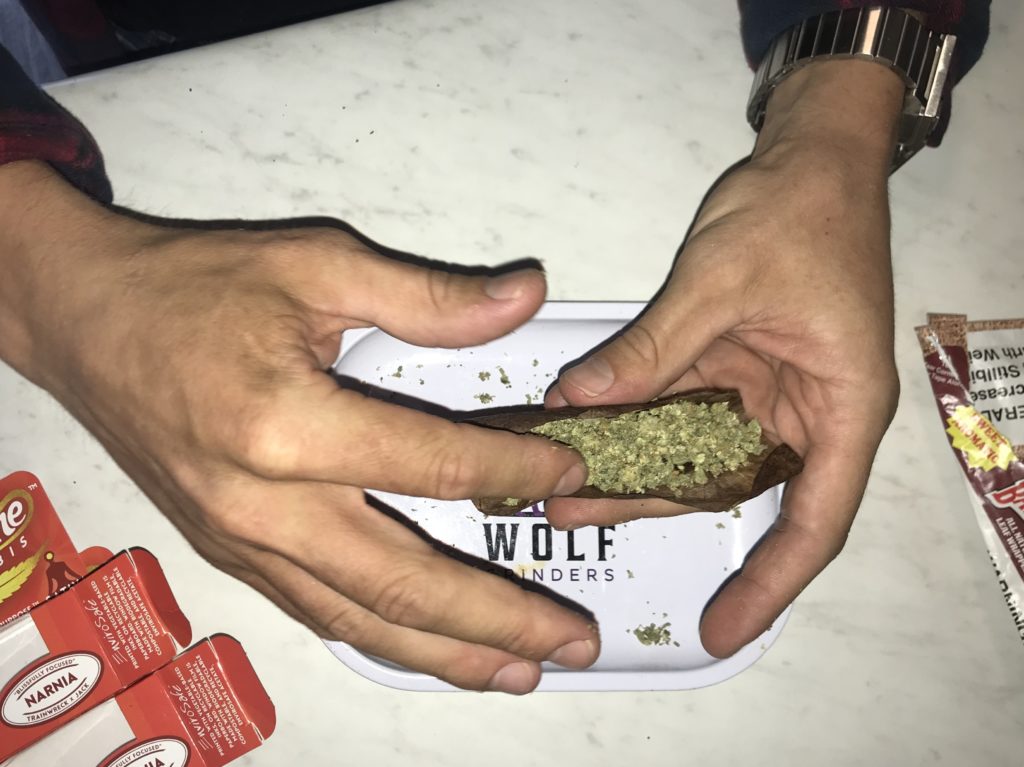
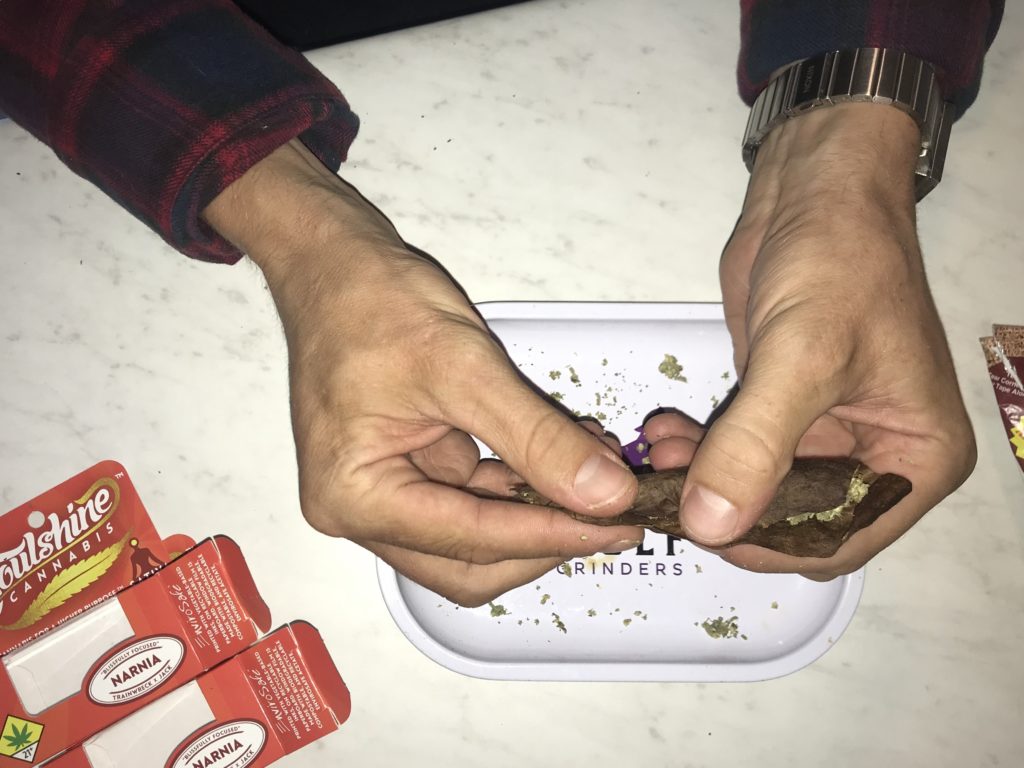
Pour your ground weed onto your paper, starting at your finger tip and working up. Try to leave as few gaps as possible so the flower is dense, even if that means cutting your joint a little short. Gaps will cause your joint to canoe, burning poorly and wasting weed.

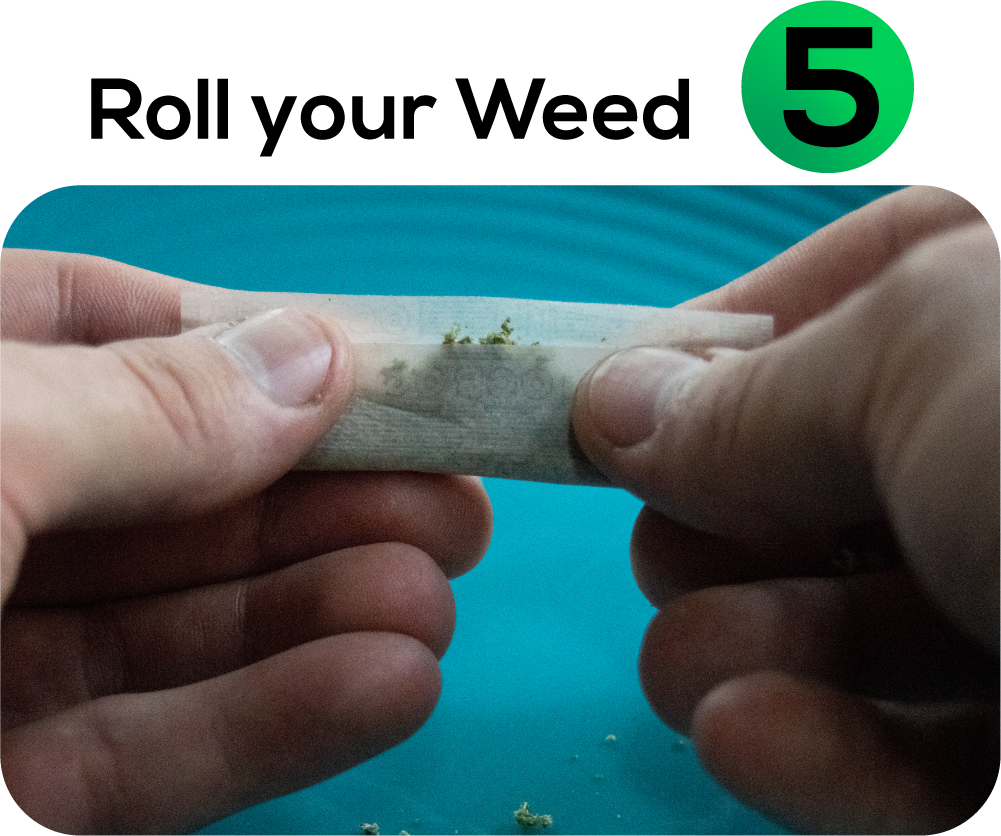
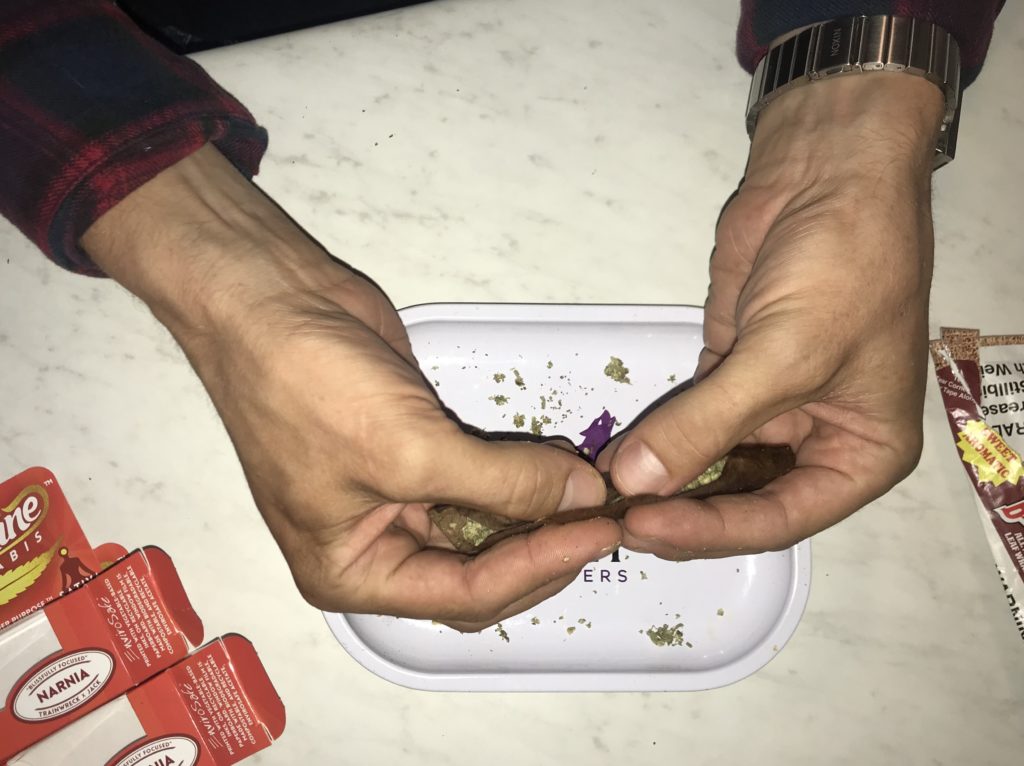
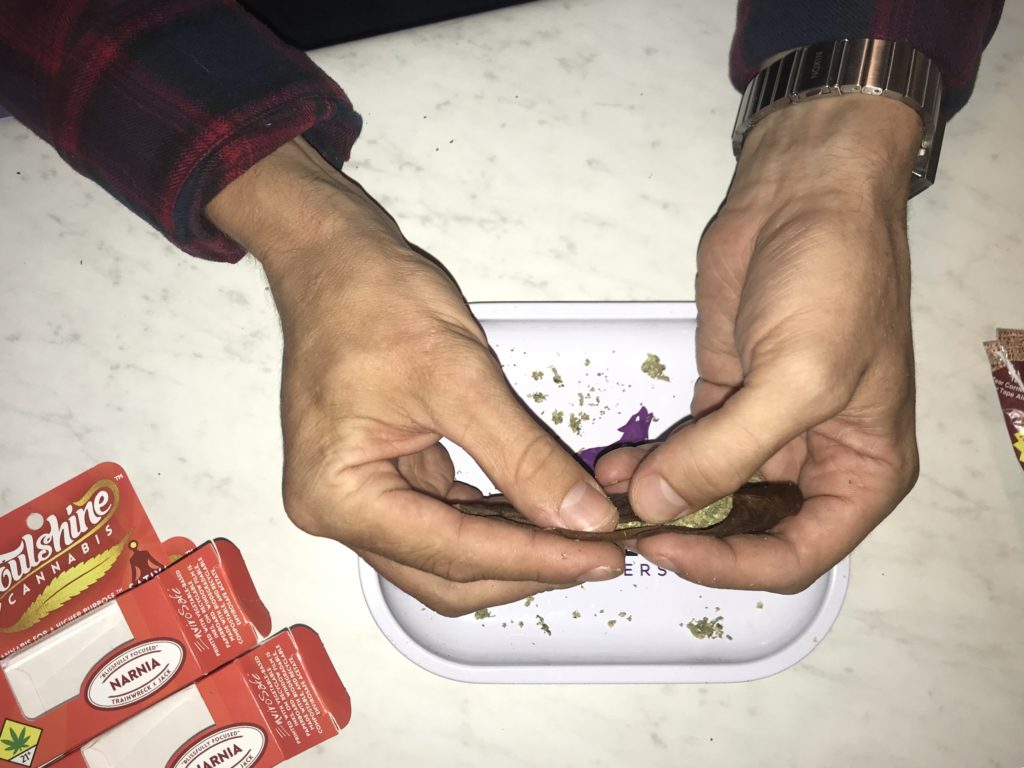
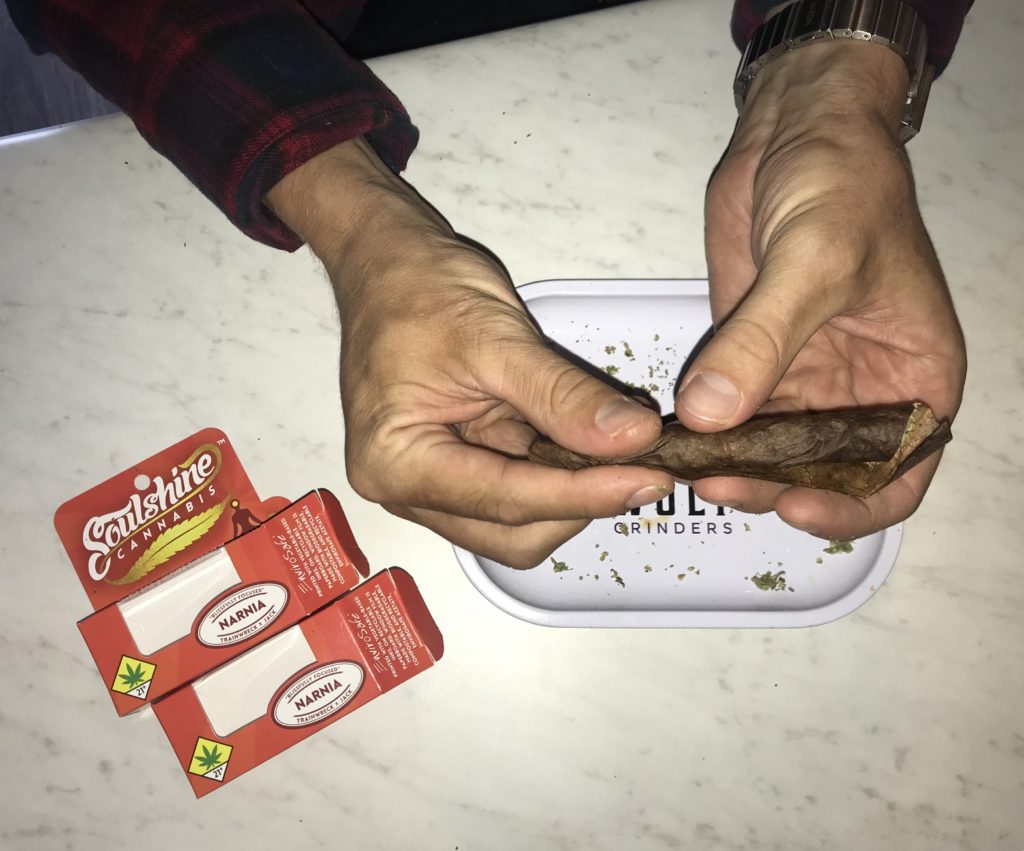
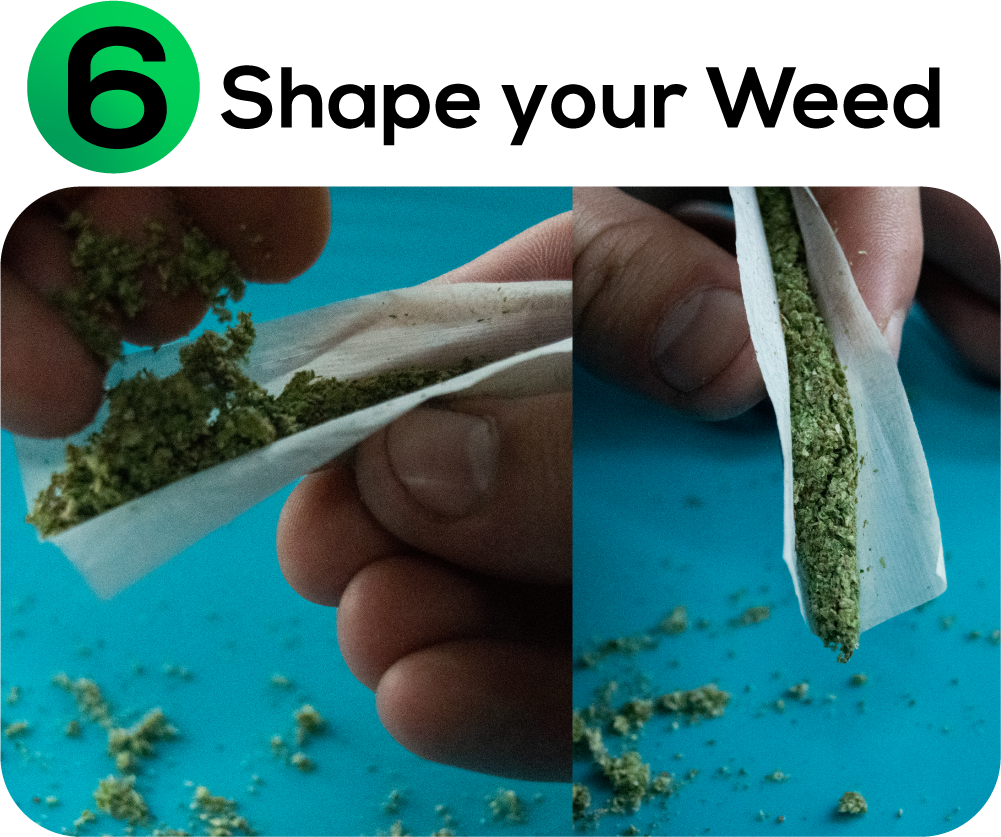
Using both thumbs, massage the weed with a rocking pattern. Start at the edges, and work your way in, slowly and lightly massaging the weed. Tails will begin to form as you do this. The shape to aim for is a cone. Don’t compress the weed too much because it will be hard to draw through when smoked.
As the cone shape forms, stop rolling and fill in any gaps in the roll. Massage the weed into the cone shape. Well rolled weed is fluffy, rather than densely packed. Although if the weed is too lightly rolled it will burn unevenly. Any gaps in the weed will cause it to canoe and can ruin your joint.


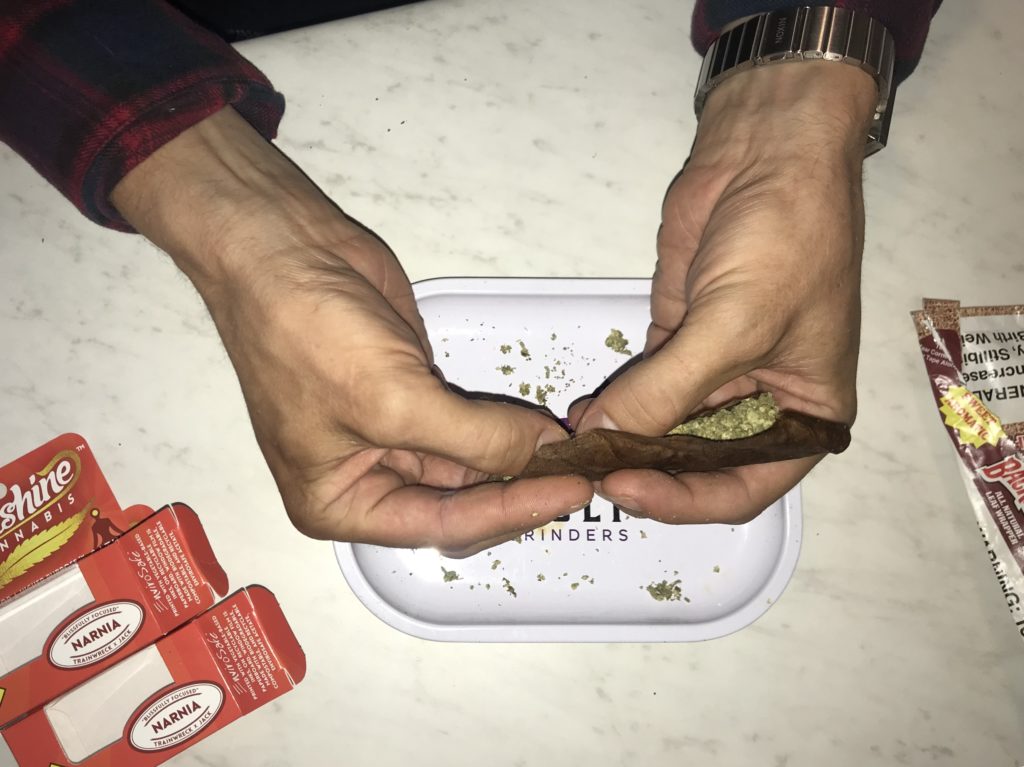
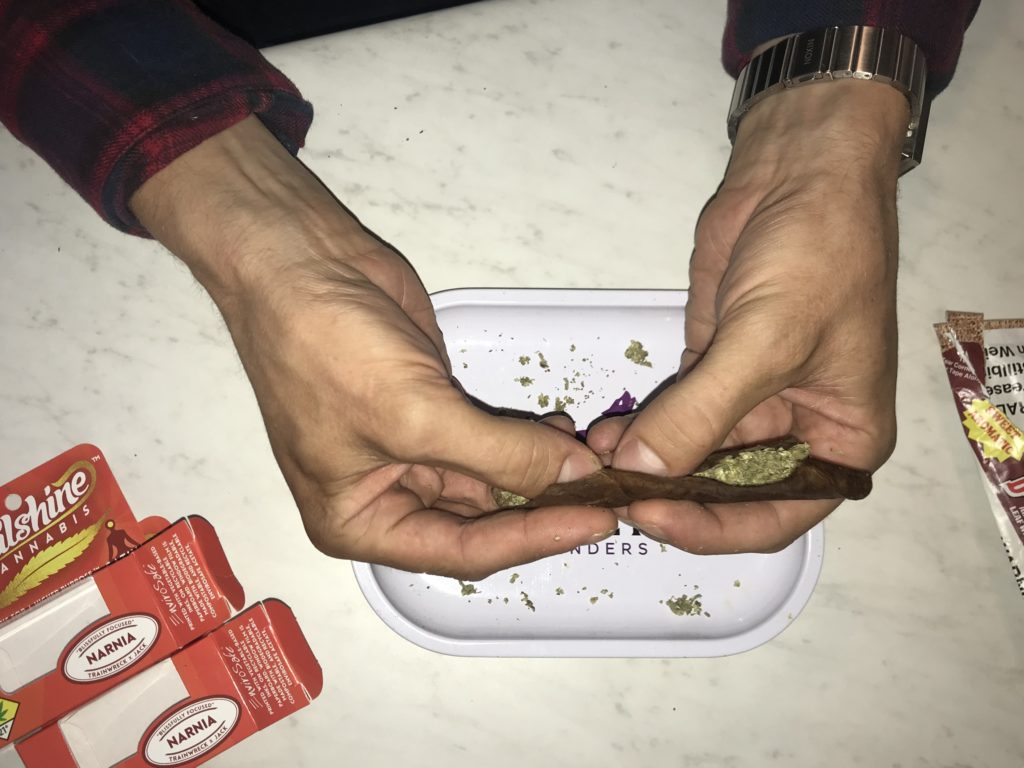
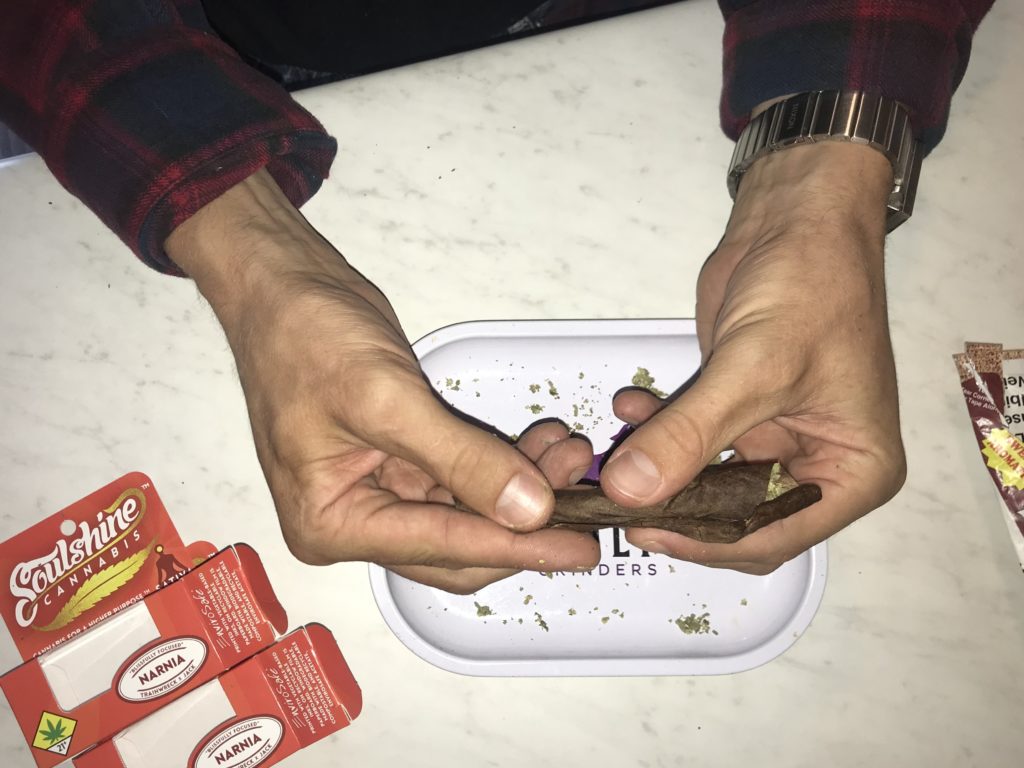
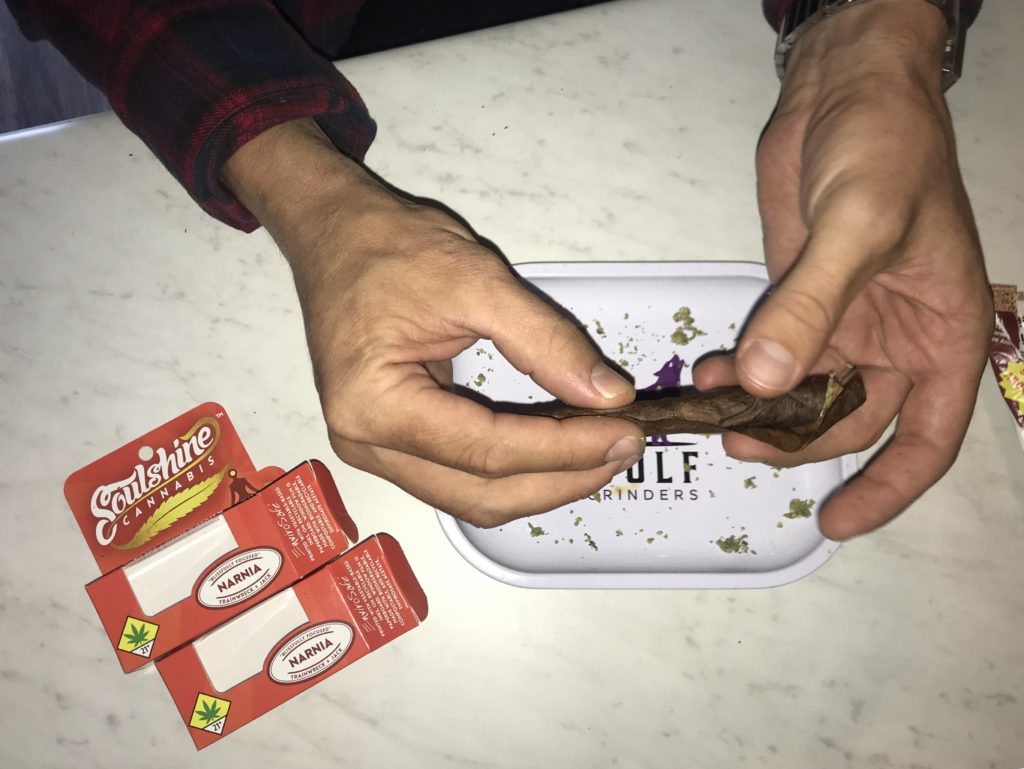
With your non-dominant thumb, push the paper tip of the paper closest to you under the thin section of your weed. If you have trouble tucking, you can bend the paper so that it is flush with other-side. Use your finger to jam this section down so there is no gap.
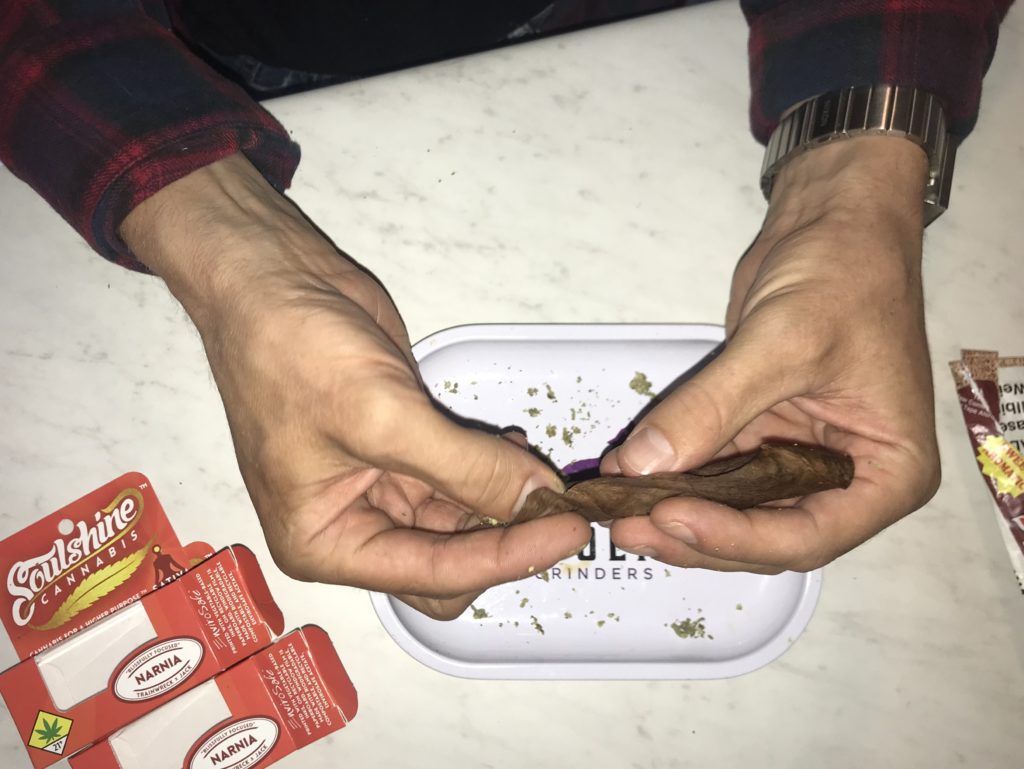
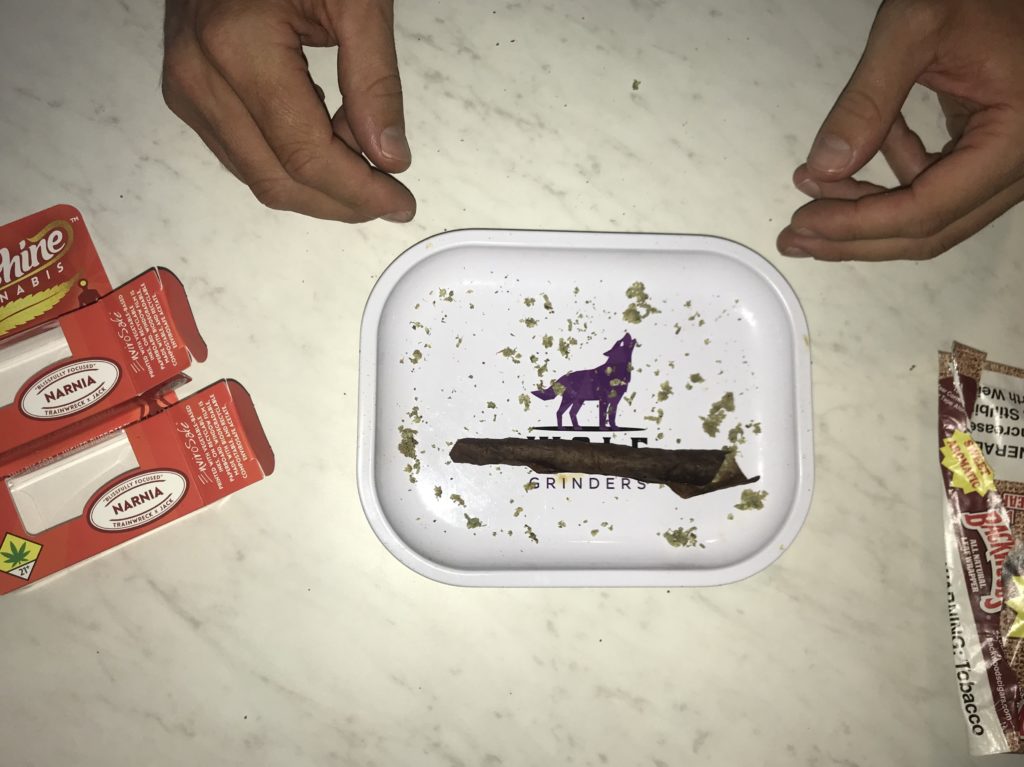
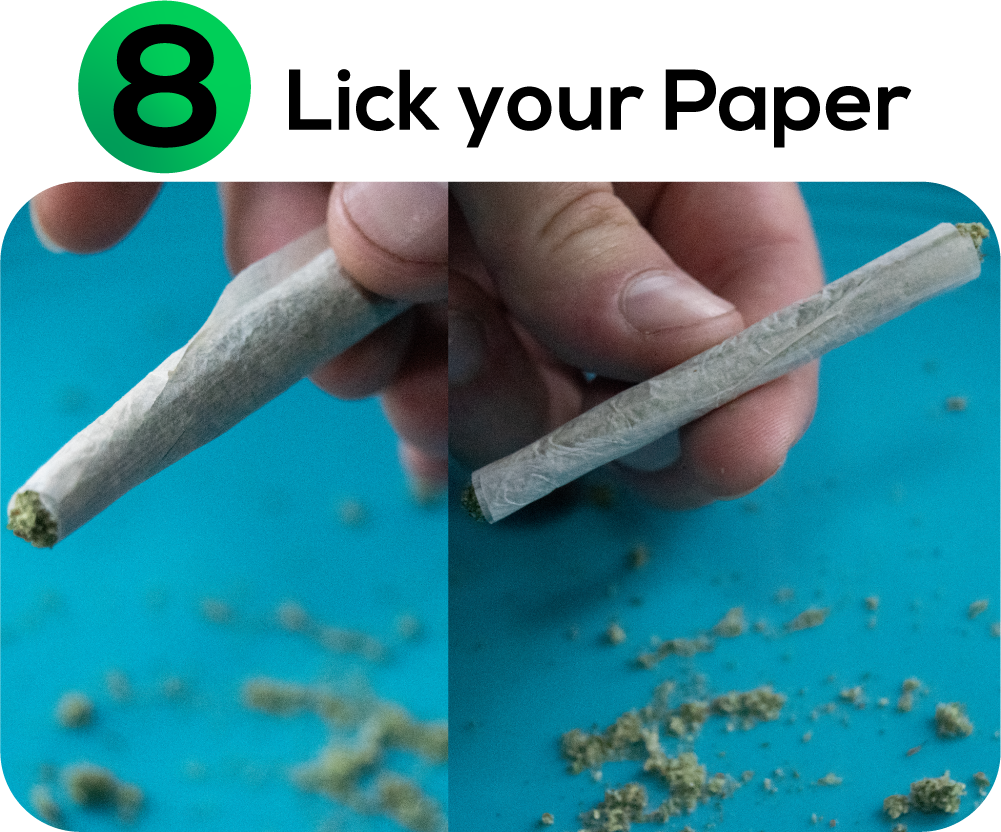
From the bottom up, lick the glued edge. From the bottom up apply the now wet edge to the dry paper. Run your finger over the seam and leave the joint be for a minute so that it can dry. You do not need to use much saliva to make the seal, but be sure there are no air gaps.

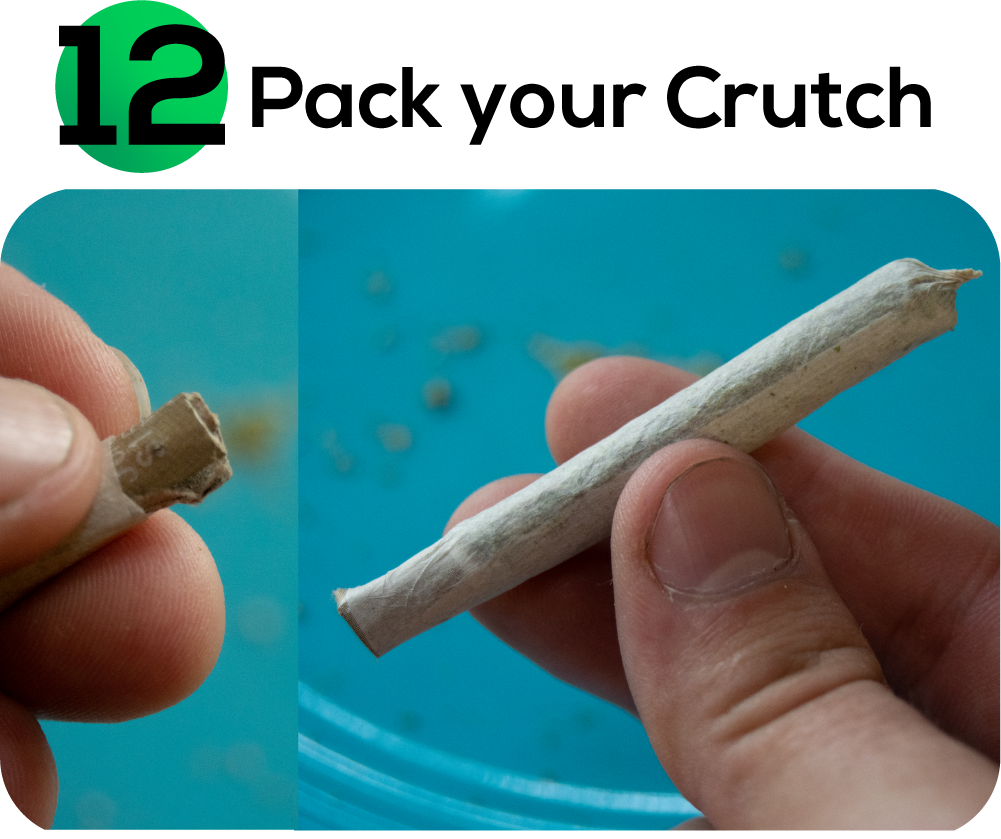
Any weed left on your plate can be packed into the top of the joint. Twist the open paper shut, pressing down the weed. A pen or pencil eraser is a great tool for packing. Don’t pack too much, because the weed can become too dense to smoke through and the paper can tear. But you would be surprised how much you can get in there.

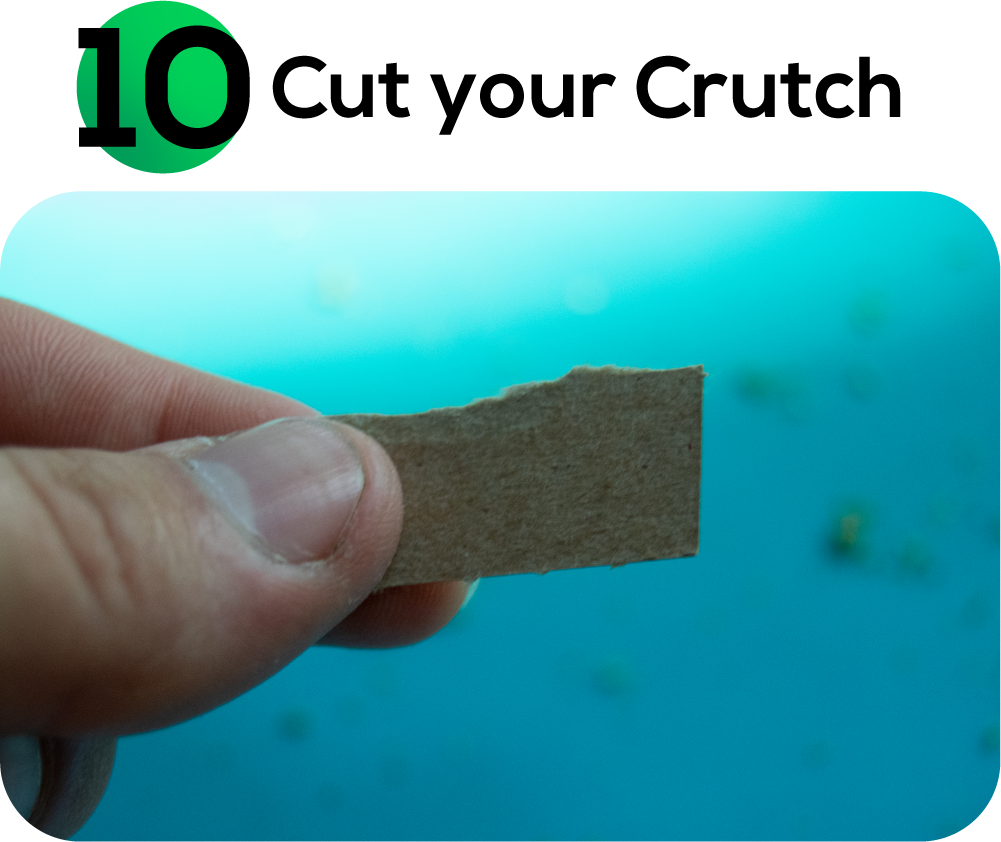
Grab a business card or some card-stock and cut it to about the width of your fingertip. Any paper can work, but something tough gives the joint a little structure. You can tear it too, although frayed edges can clog up your joint.
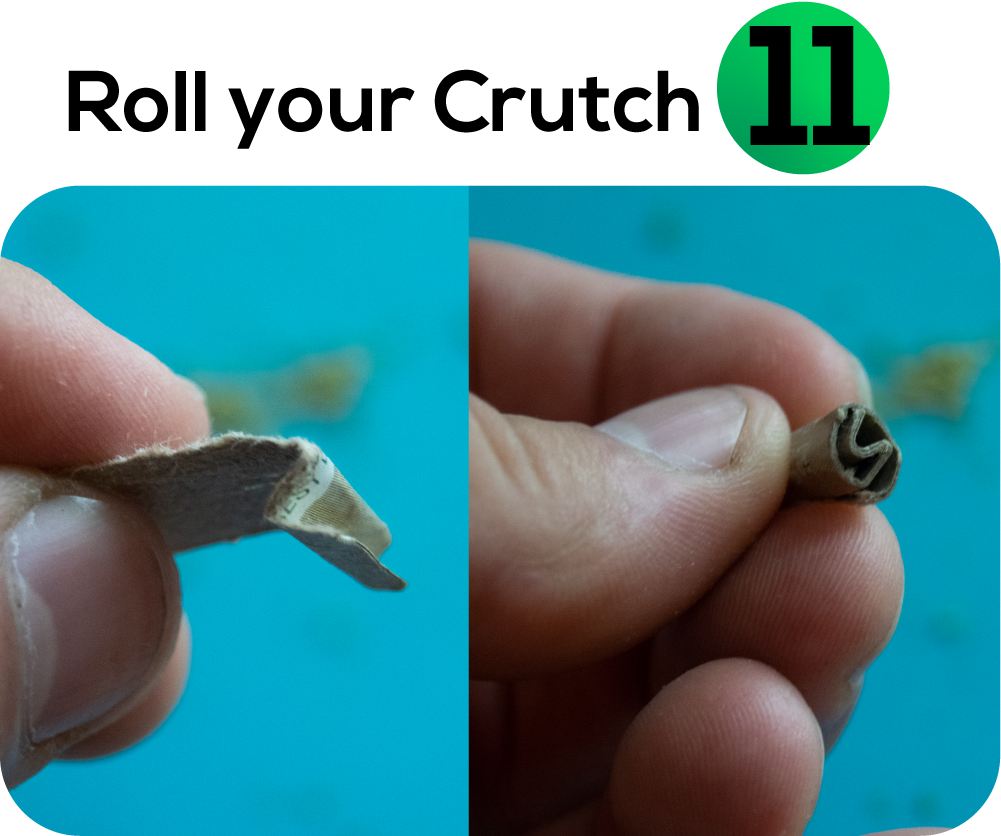
Bend a short zig-zag into your crutch paper. Wrap the rest of the paper around the zig-zag so that you form a cylinder. It shouldn’t be too tight or too loose. It is meant to catch weed from falling in your mouth, and to give you something to hold on to and pass around.
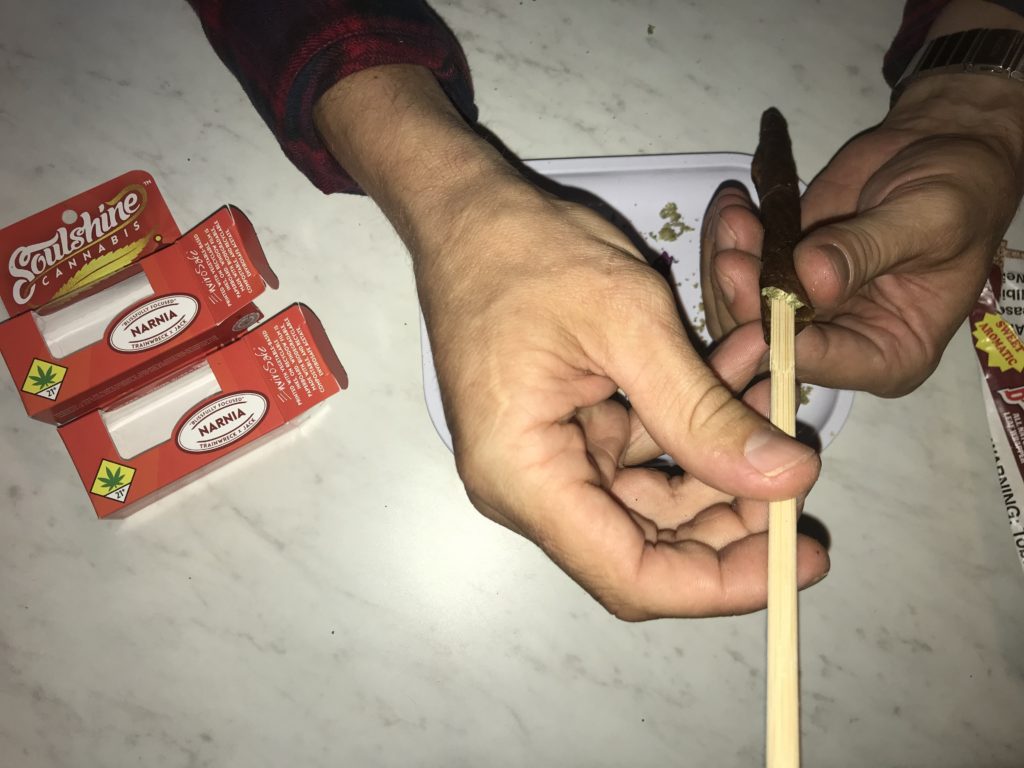
Tighten your crutch slightly and slide it into the unsealed side of your joint. You’ll probably be pushing weed, so be slow in pushing the crutch into your joint so that you do not tear the paper or pack the weed too tightly under your crutch. Now it is…